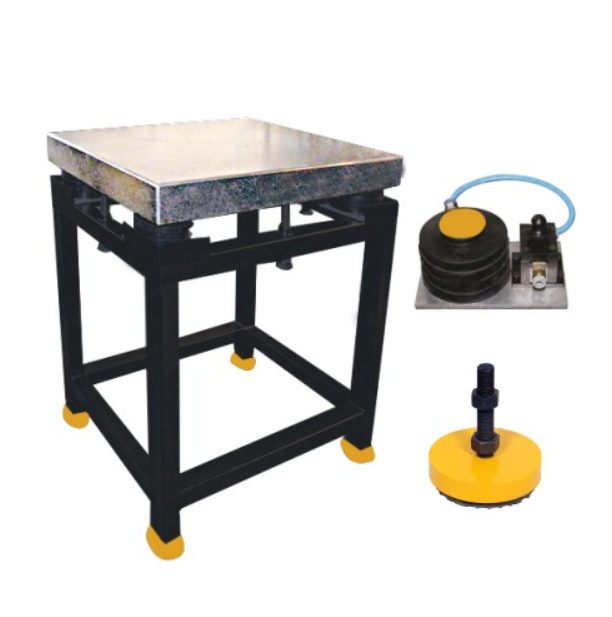
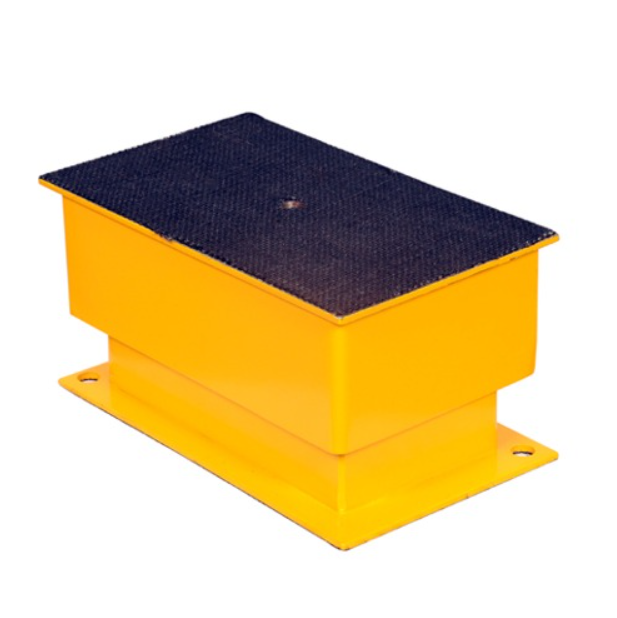
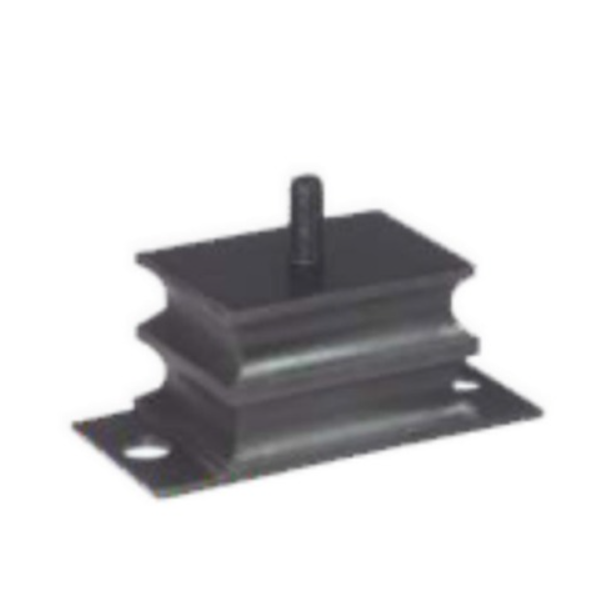
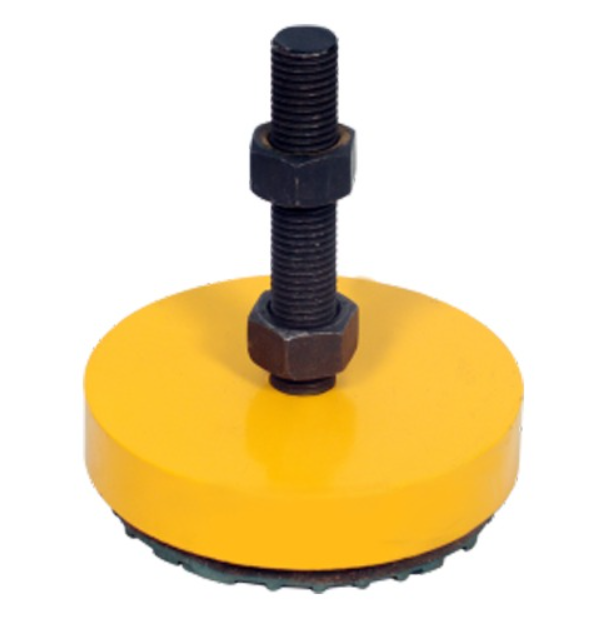
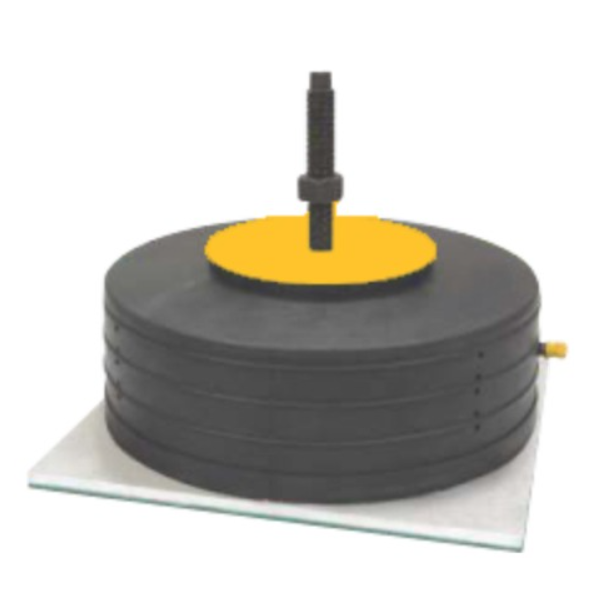
Stud mounts act as shock absorbers preventing a machine from vibration, noise, and stress. They are widely used in manufacturing with automotive and heavy machinery. Having the ability to absorb and isolate vibrations leads to increased operational efficiency and longer life for machines; however, their proper installation, maintenance, and examination are extremely important to truly benefit from such mountings.
A study on installation, maintenance, testing procedures, and performance enhancement methods will be presented here with heavy duty anti vibration pads. Several important ideas will aid any facility manager, engineer, or technician to keep their stud mounts at maximum efficiency and further operations towards ultimate life.
Step-by-Step Guide: Proper Installation Techniques for Stud Mounts
Correct Installations and Mounting are important to prevent mechanisms from vibration and premature wear. Below is the stepwise professional and easy-to-follow installation procedure.
1. Preparation and Surface Inspection
- Check the surface area: The base and equipment mounting surfaces should be clean, flat, and free of rust, oil, or debris.
- Verify load capacity: The stud mount should be checked if it meets the specifications with regard to load rating, size, and material as per the requirement of the machine.
- Select correct tools: Using torque wrenches, washers, and locknuts is an important way to ensure that tightening of stud mounts is done with precision.
2. Positioning the Stud Mount
- Set stud mounts at recommended points to ensure balance in load distribution.
- Consult the equipment manual for actual mounting hole location.
- Never install with any form of offset or angle that will in time stress the mount.
3. Tightening the Studs
- Increase torque gradually to avoid over-tightening.
- Always use locknuts or washers to make any stud mount secure and firm.
- Never exceed manufacturers recommended torque to avoid thread strippage.
4. Vibration Testing After Installation
- Operate the machine through various loads and speeds for stability checks.
- Look out for excessive vibration, noise, or misalignment.
- Adjust the mounts as necessary to improve balance and performance.
Pro Tip: Always record the installation specifics, including date, torque, part numbers, for possible future reference.
Common Mistakes to Avoid During Stud Mount Setup
Even a highly experienced technician may sometimes err in a way that shortens the lifespan of a stud mount. Avoiding these mistakes will save one both time and money.
- Over-Tightening Bolts: Causes stress cracks and weakens the rubber-metal bond.
- Wrong Selection of Mount: Using an undersized mount subjects it to overload, while an oversized mount does not work to the fullest.
- Skipping Surface Preparation: Rust, dirt or lack of a good flat surface.
- Improper Load Distribution: If mounts are placed unevenly, one side will be forced to bear excessive force, causing premature failure.
- Ignoring Manufacturer Guidelines: Each mount has a special purpose and specification; if ignored, this will most probably lead to premature failure.
By avoiding such pitfalls, your stud mounts will work efficiently and safely for a longer period.
Unick Vibration’ Recommended Practices for Stud Mount Maintenance
The name of the leading Stud Mounts Supplier in India, Unick Vibration, whose mounts are best for systematic and routine maintenance to ensure the highest level of performance, is here. These are as follows: their best practices.
- Routine Cleaning: Wipe off any dirt, oil, or corrosive material from the stud-mounts, as they may cause the rubber to deteriorate.
- Lubricating the Threads: Apply thin layers of anti-seize compounds to metal threads to prevent rusting and seizure.
- Re-checking Torque: Periodically check and retighten the bolts to maintain the recommended torque.
- Storage Conditions: Store spare mounts in a cool and dry area, far from direct sunlight and chemicals.
- Replacement: Interruptive Replacement Cycles, and not after a complete failure.
How Regular Inspections Improve Stud Mount Lifespan and Safety
Inspections ought to be performed routinely so as to identify faults before serious downtime or damage occurs to the equipment. A well-defined inspection program even greatly contributes to the expansion of stud mounts life.
Inspection Checklist:
- Visual Damage: Observe for anything like cracks, hardening, or swelling of the rubber.
- Metal Fatigue: Examine the threads, washers, and nuts for ware and tear.
- Alignment Issues: Check whether the mount has shifted or tilted.
- Noise/Vibration Changes: Sudden noise may come from loose mounts or damaged elastomer.
- Corrosion Signs: Observe metal parts for rust, particularly when humidity levels are high or chemicals are in use.
Benefits of Regular Inspections:
- Prolongs equipment and mount life
- Avoids sudden breakdowns
- Makes sure the safety of the operator
- Maintains uniform performance of the machine
Performance Tips: Maximizing Efficiency and Durability of Stud Mounts
While working for best results using stud mounts, a professional must be concerned not only with installation but also with performance enhancement in the long-term.
Best Practices to Maximize Performance:
- Match Mounts to Load Requirements: Always use mounts rated for the specific machine’s weight and operating condition.
- Monitor Operating Temperature: Extreme heat will speed up rubber degradation. If possible, install the mounts away from any sources of excessive heat.
- Use Mounts in Pairs or Sets: Replace mounts in sets only so that they are balanced and perform uniformly.
- Plan Preventive Maintenance: Every 6-12 months, schedule inspections depending on the workload and environment.
- Upgrade When Needed: Replace older mounts with newer advanced vibration-damping mount designs for efficiency enhancement.
Stud mount users with preventive maintenance programs reported 25-to-30 percent longer mount life than those facilities that only replaced them after failure.
Conclusion
The stud mounts seem to be small components, but they greatly affect machine stability, operator comfort, and longevity of other equipment. If the mounts are put in with the correct steps, avoid common mistakes, and follow industry-recommended maintenance procedures, the life of the mounts can be enhanced greatly.
It may require periodic inspection and preventive maintenance to keep the equipment in good shape, thus minimizing downtime, saving cost of repair, and enhancing safety in the work environment. A very small effort in mounting and maintenance will go a long way in ensuring the stud mount lives up to its fullest potential.
Want to increase your machinery’s performance and life with good-quality stud mounts?
Unick Vibration is a premiere name in vibration control. From installation know-how to maintenance products, we have you covered so that your equipment will run smoothly, safely, and longer.
Contact Unick Vibration today to discover the best stud mount solutions for your industry needs